Debian 7 Wheezy - Web メールシステム SquirrelMail インストール!
Updated:
Debian GNU/Linux 7 Wheezy サーバに Web メールシステム SquirrelMail をインストール・設定する方法についての記録です。
以前古いバージョンでの作業時に残していた記録を参考に作業を行い、今回更新した作業記録を貼付する形式の内容となっています。
0. 前提条件
- Debian GNU/Linux 7.1.0 での作業を想定。
- Web サーバは Apache2 を想定。
- SMTP サーバ Postfix 構築済み。
- IMAP サーバ Dovecot 構築済み。
- SMTP, IMAP サーバ名はともに
mail.mk-mode.comを想定。 - ドメイン名は
mk-mode.comを想定。 - ネットワークは
192.168.11.0/24を想定
1. SquirrelMail インストール
SquirrelMail とプラグインを以下のようにしてインストールする。
# aptitude -y install squirrelmail squirrelmail-compatibility squirrelmail-secure-login squirrelmail-decode
2. SquirrelMail 設定
設定用スクリプトを実行して各種設定を行う。
# /etc/squirrelmail/conf.pl
以下、入力部分のみ箇条書き。
Main Menuで1(Organization Preferences) を選択。Organization Preferencesで5(Signout Page) を選択。- ログアウト時に表示するページとして
/webmailと入力。 rでMain Menuへ戻る。Main Menuで2(Server Settings) を選択。Server Settings - Generalで1(Domain) を選択。- ドメイン名として
mk-mode.comと入力。 Server Settings - GeneralでA(Update IMAP Settings) を選択。Server Settings - IMAP Settingsで4(IMAP Server) を選択。- IMAP サーバ名として
mail.mk-mode.comと入力。 Server Settings - IMAP Settingsで8(Server software) を選択。- IMAP サーバソフト名として
dovecotと入力。 Server Settings - IMAP SettingsでB(Update SMTP Settings) を選択。Server Settings - SMTP Settingsで4(SMTP Server) を選択。- SMTP サーバ名として
mail.mk-mode.comと入力。 Server Settings - SMTP Settingsで7(SMTP Authentication) を選択。Try to detect auth mechanisms? [y/N]でyと入力。none, login, plain, cram-md5, or digest-md5 [none]でloginと入力。SMTP connections? [y/N]でnと入力。rでMain Menuへ戻る。Main Menuで10(Languages) を選択。Language preferencesで1(Default Language) を選択。- 言語として
ja_JPと入力。 Language preferencesで2(Default Charset) を選択。- 文字コードとして
iso-2022-jpと入力。 rでMain Menuへ戻る。Main Menuで4(General Options) を選択。General Optionsで7(Hide SM attributions) を選択。Hide SM attributions (y/n) [n]でyと入力。rでMain Menuへ戻る。Main Menuで8(Plugins) を選択。Pluginsで7(delete_move_next) を選択。(番号は環境により異なる!)Pluginsで15(newmail) を選択。(番号は環境により異なる!)Pluginsで8(compatibility) を選択。(番号は環境により異なる!)qで終了。yで書き込み。
3. 設定ファイル編集
上記の設定の他に設定ファイル “SquirrelMail.conf” を以下のように作成する。
File: /etc/apache2/conf.d/SquirrelMail.conf
1
2
3
4
5
6
7

Alias /webmail /usr/share/squirrelmail
<Location /webmail>
    Order Deny,Allow
    Deny from all
    Allow from 127.0.0.1 192.168.11.0/24  # <= アクセスを許可するIPアドレス
</Location>
4. Apache2 再起動
設定を有効化するために Apache2 を再起動する。
# /etc/init.d/apache2 restart
Restarting web server: apache2 ... waiting .
5. 動作確認
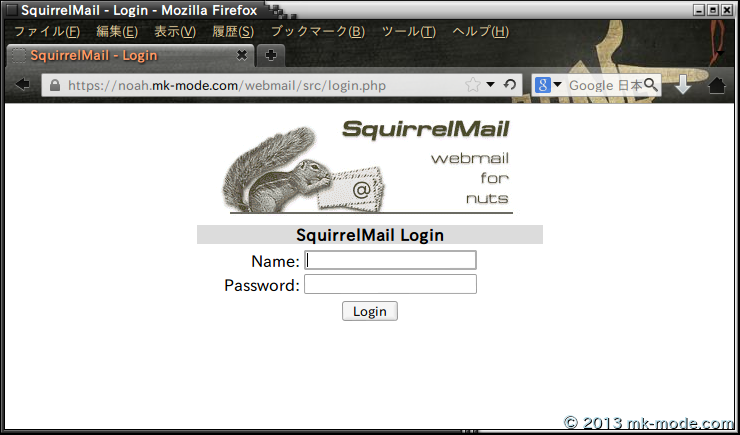
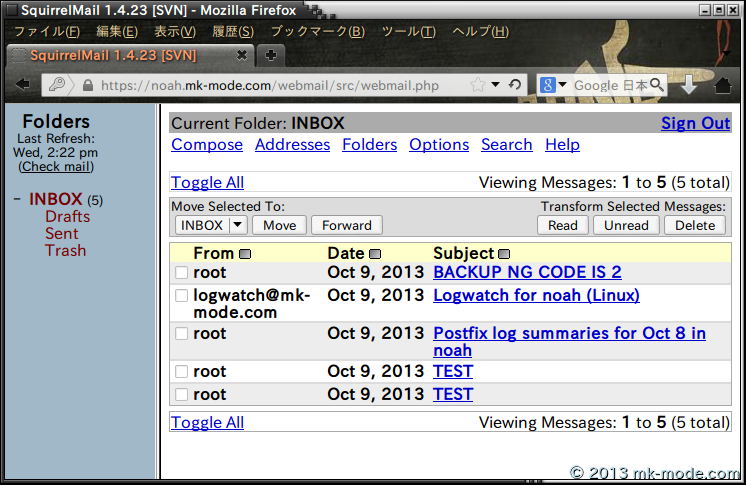
ブラウザで https://<Webサーバのホスト名 or IP アドレス>/webmail にアクセスしてみる。
SSL 認証を通して以下のように表示されれば成功である。ユーザ名・パスワードを入力してログインしてみる。


以上。

Comments