CentOS 6.5 - サーバ監視ツール(munin)導入!
Updated:
前回は CentOS 6.5 サーバでログ解析ツール LogWatch の導入を行いました。
今回はサーバ監視ツール munin の導入を行います。
0. 前提条件
- CentOS 6.5(x86_64) を Minimal で最小インストールしている。
- クライントマシンは Linux Mint 14(64bit) を想定。
- CentOS 6.5 - 初期設定! 内のとおり EPEL リポジトリの導入を行なっている。
- 閲覧に使用する Web(HTTP) サーバは Nginx を想定。
- ローカルネットワークは “192.168.11.0/24” を想定。
1. munin マスタ・ノードのインストール
ベースリポジトリには存在しないので、EPEL リポジトリからインストールする。
# yum --enablerepo=epel -y install munin
2. 設定ファイル編集
File: /etc/munin/munin.conf
1
2
3
4
dbdir   /var/lib/munin            # <= コメント解除
htmldir /var/www/munin            # <= コメント解除&変更
logdir /var/log/munin             # <= コメント解除
rundir  /var/run/munin            # <= コメント解除
3. フォルダ移動
# mv /var/www/html/munin /var/www/
4. フォルダ権限設定
# chown -R munin:munin /var/www/munin/
5. Nginx 設定ファイル編集
Nginx 設定ファイルの “server” ディレクティブ内に以下のような記述を追加する。
File: /usr/local/nginx/conf/nginx.conf
1
2
3
4
5
6
7
    location /munin {
        alias /var/www/munin;
        index index.html index.htm index;
        allow 127.0.0.1;
        allow 192.168.11.0/24;
        deny  all;
    }
ちなみに、HTTP サーバが Apache の場合は、以下のように httpd 用設定ファイルを作成する。
File: /etc/httpd/conf.d/munin.conf
1
2
ScriptAlias /munin/cgi/ /var/www/munin/cgi/
Alias /munin/ /var/www/munin/
6. Web サーバ再起動
以下は Nginx の場合。
# /etc/rc.d/init.d/nginx restart
nginx: the configuration file /usr/local/nginx/conf/nginx.conf syntax is ok
nginx: configuration file /usr/local/nginx/conf/nginx.conf test is successful
nginx を停止中:                                            [  OK  ]
nginx を起動中:                                            [  OK  ]
7. munin-node 起動
# /etc/rc.d/init.d/munin-node start
Starting Munin Node:                                       [  OK  ]
8. munin-node 自動実行設定
# chkconfig munin-node on
# chkconfig --list munin-node  # <= 2,3,4,5 が "on" であることを確認
munin-node      0:off   1:off   2:on    3:on    4:on    5:on    6:off
9. 動作確認
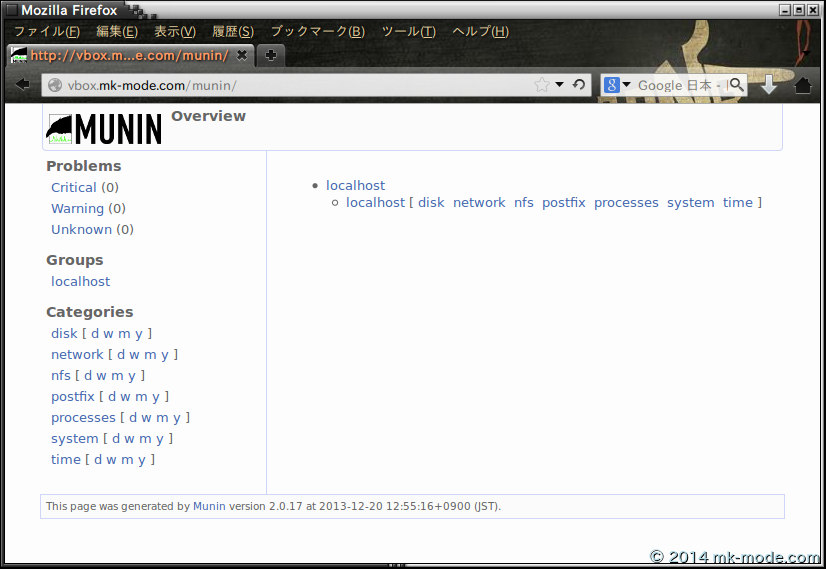
ブラウザから http://<サーバ名orIPアドレス>/munin にアクセスして正常に表示されることを確認する。
また 5 分間隔で更新されることも確認する。

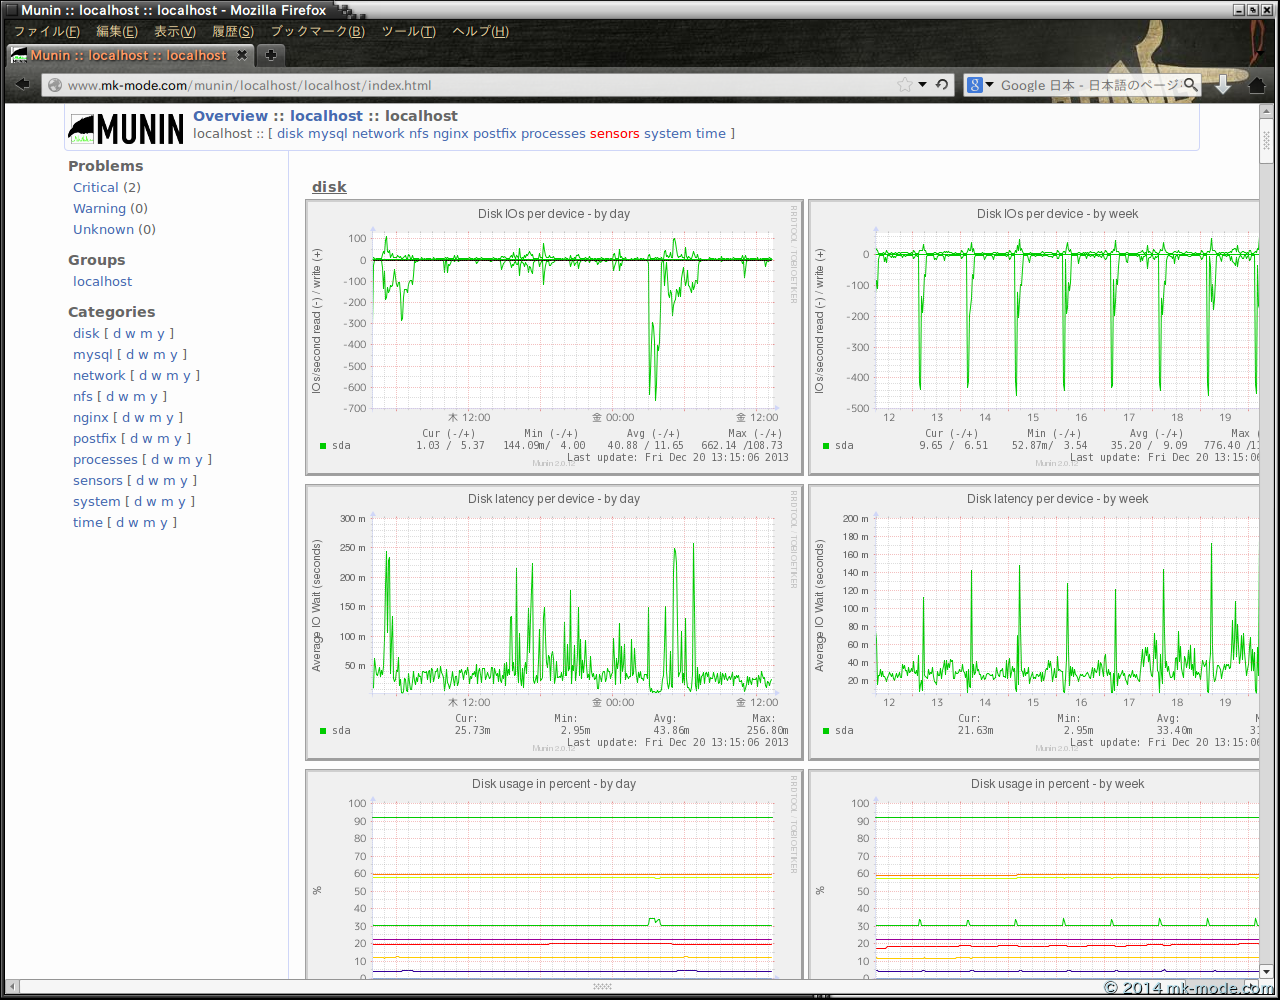
以下は、実運用中サーバでの表示例。(グラフが描画されていて分かりやすいので)

次回は、サーバ監視ツール munin でハードディスク温度を監視するについて紹介する予定です。
以上。

Comments