CentOS 6.5 - Webmail システム SquirrelMail 導入!
Updated:
前回は CentOS 6.5 サーバ上でユーザ管理ツール Usermin でメール自動返信 Vacation を利用する設定を行いました。
今回は Web メールシステム SquirrelMail の導入を行います。
0. 前提条件
- CentOS 6.5(x86_64) を Minimal で最小インストールしている。
- クライントマシンは Linux Mint 14(64bit) を想定。
- Web サーバは Nginx を想定。
- SMTP サーバ Postfix 構築済み。
- IMAP サーバ Dovecot 構築済み。
- PHP インストール済み。
- 主に「CentOSで自宅サーバー構築」を参考にしている。
(実際は、過去にこのサイトを参考にして作業した際に記録していたものを参照している)
1. アーカイブダウンロード&展開
アーカイブをダウンロードし、展開する。そして、ディレクトリごと所定の位置へ移動する。
# wget http://sourceforge.net/projects/squirrelmail/files/stable/1.4.22/squirrelmail-webmail-1.4.22.tar.gz/download
# tar zxvf squirrelmail-webmail-1.4.22.tar.gz
# mv squirrelmail-webmail-1.4.22 /var/www/webmail
# rm -f squirrelmail-webmail-1.4.22.tar.gz  # <= 後始末
2. 日本語設定
日本語が使用できるように設定する。
# mkdir -p locales                             # <= locales ディレクトリ作成
# cd locales                                   # <= locales ディレクトリへ移動
# wget http://jaist.dl.sourceforge.net/sourceforge/squirrelmail/ja_JP-1.4.18-20090526.tar.bz2
                                               # <= locale ダウンロード
# tar jxvf ja_JP-1.4.18-20090526.tar.bz2       # <= locale 展開
# ./install                                    # <= localeインストール
Please enter path to your squirrelmail installation:/var/www/webmail
                                               # <= インストール先を入力

# cd                                           # <= ルートへ移動
# rm -rf locales                               # <= 後始末
# cd /var/www/webmail/po/                      # <= ディレクトリ移動
# ./compilepo ja_JP                            # <= squirrelmail.po ファイル作成
Compiling ../locale/ja_JP/LC_MESSAGES/squirrelmail.po

# cd                                           # <= ルートへ移動
# chmod 730 /var/www/webmail/data/             # <= dataディレクトリの権限設定
# chown -R nginx:nginx /var/www/webmail/data/  # <= data ディレクトリの所有者設定
3. SquirrelMail 設定
設定用スクリプトを実行して各種設定を行う。
# /var/www/webmail/config/conf.pl
以下、入力部分のみ箇条書き。
Main Menuで10(Languages) を選択。Language preferencesで1(Default Language) を選択。- 言語として
ja_JPと入力。 Language preferencesで2(Default Charset) を選択。- 文字コードとして
iso-2022-jpと入力。 rでMain Menuへ戻る。Main Menuで1(Organization Preferences) を選択。Organization Preferencesで5(Signout Page) を選択。- ログアウト時に表示するページとして
/webmailと入力。 rでMain Menuへ戻る。Main Menuで2(Server Settings) を選択。Server Settings - Generalで1(Domain) を選択。- ドメイン名として
mk-mode.comと入力。 Server Settings - GeneralでA(Update IMAP Settings) を選択。Server Settings - IMAP Settingsで4(IMAP Server) を選択。- IMAP サーバ名として
mail.mk-mode.comと入力。 Server Settings - IMAP Settingsで8(Server software) を選択。- IMAP サーバソフト名として
dovecotと入力。 Server Settings - IMAP SettingsでB(Update SMTP Settings) を選択。Server Settings - SMTP Settingsで4(SMTP Server) を選択。- SMTP サーバ名として
mail.mk-mode.comと入力。 Server Settings - SMTP Settingsで7(SMTP Authentication) を選択。Try to detect auth mechanisms? [y/N]でyと入力。none, login, plain, cram-md5, or digest-md5 [none]でloginと入力。SMTP connections? [y/N]でnと入力。rでMain Menuへ戻る。Main Menuで4(General Settings) を選択。General Optionsで7(Hide SM attributions) を選択。Hide SM attributions (y/n) [n]でyと入力。General Optionsで1(Data Directory) を選択。- データディレクトリとして
../data/と入力。 General Optionsで2(Attachment Directory) を選択。- 添付データディレクトリとして
$data_dirと入力。 General Optionsで16(Only secure cookies if poss.) を選択。- Secure Login プラグインによるログインを不可にするために
nと入力。 rでMain Menuへ戻る。Main Menuで3(Folder Defaults) を選択。Folder Defaultsで3(Trash Folder) を選択。- ゴミ箱フォルダとして
Trashと入力。 Folder Defaultsで4(Sent Folder) を選択。- 送信済みフォルダとして
Sentと入力。 Folder Defaultsで5(Drafts Folder) を選択。- 草稿フォルダとして
Draftsと入力。 qで終了。yで書き込み。
4. プラグインアーカイブダウンロード&展開
プラグインを全てのバージョンの SquirrelMail でそのまま動くようにする “Compatibility”、ログイン時に自動的にhttps(SSL)でアクセスする “Secure Login” を導入する。
# wget "http://www.squirrelmail.org/countdl.php?fileurl=http%3A%2F%2Fwww.squirrelmail.org%2Fplugins%2Fcompatibility-2.0.16-1.0.tar.gz"
# wget "http://www.squirrelmail.org/countdl.php?fileurl=http%3A%2F%2Fwww.squirrelmail.org%2Fplugins%2Fsecure_login-1.4-1.2.8.tar.gz"

# cd /var/www/webmail/plugins/

# tar zxvf /root/compatibility-*.tar.gz
# tar zxvf /root/secure_login-*.tar.gz

# rm -f /root/compatibility-*.tar.gz
# rm -f /root/secure_login-*.tar.gz
5. Secure Login プラグイン設定
ログイン後もSSL通信を継続するようにするため、設定ファイルサンプルを複製して編集する。
# cp secure_login/config.sample.php secure_login/config.php
File: secure_login/config.php
1
   $change_back_to_http_after_login = 0;  # <= 変更
6. SquirrelMail 設定
# /var/www/webmail/config/conf.pl
Main Menuで8(Plugins) を選択。Pluginsで4(compatibility) を選択。(※番号は環境により異なる!)Pluginsで14(secure_login) を選択。(※番号は環境により異なる!)qで終了。yで書き込み。
7. 添付ファイルサイズ拡大
添付ファイルサイズを拡大する設定を行う。(例として 10MB を想定)
まず、メールサイズの上限を 20MB(添付ファイルサイズの2倍位) に設定する(Postfix 設定ファイル編集する)。
File: /etc/postfix/main.cf
1
message_size_limit = 20971520  # <= 20MB = 0*1024*1024
そして、設定を反映させるために Postfix をリロードする。
# /etc/rc.d/init.d/postfix reload
postfix を再読み込み中:                                    [  OK  ]
次に、PHP 設定ファイルを編集する。
File: /etc/php.ini
1
2
3
4
5
#upload_max_filesize = 2M
upload_max_filesize = 10M  # <= 変更

#post_max_size = 8M
post_max_size = 10M        # <= 変更
8. Nginx 設定
Nginx 設定ファイルをの server ディレクティブ(HTTPS 用)内に以下のように記述を追加する。
File: /usr/local/nginx/conf/nginx.conf
1
2
3
4
5
6
7
8
9
10
11
12
13
14
15
16
17
18
19
20
21
22
23
    server {

         # ===< 省略 >===

         # Squirrel Mail
         location /webmail {
             alias /var/www/webmail;
             index index.php;
             allow 127.0.0.1;
             allow 192.168.11.0/24;
             deny  all;
         }

         location ~ /webmail/.*\.php$ {
             fastcgi_pass    127.0.0.1:9000;
             fastcgi_index   index.php;
             fastcgi_param   SCRIPT_FILENAME  /var/www/$uri;
             include         fastcgi_params;
         }

         # ===< 省略 >===

    }
http://<サーバホスト名orアドレス>/webmail/ で https//<サーバホスト名orアドレス>/webmail/ にリライトさせたいなら、Nginx 設定ファイルの server ディレクティブ(HTTP 用)に以下のように rewrite 設定を追加すればよい。
File: /usr/local/nginx/conf/nginx.conf
1
2
3
4
5
6
7
8
9
    server {

         # ===< 省略 >===

         rewrite ^/webmail(.*)?$ https://$http_host/webmail$1 last;

         # ===< 省略 >===

    }
9. Nginx リロード
設定を反映させるため Nginx をリロードする。
# /etc/rc.d/init.d/nginx reload
nginx: the configuration file /usr/local/nginx/conf/nginx.conf syntax is ok
nginx: configuration file /usr/local/nginx/conf/nginx.conf test is successful
nginx を再読み込み中:                                      [  OK  ]
10. 動作確認
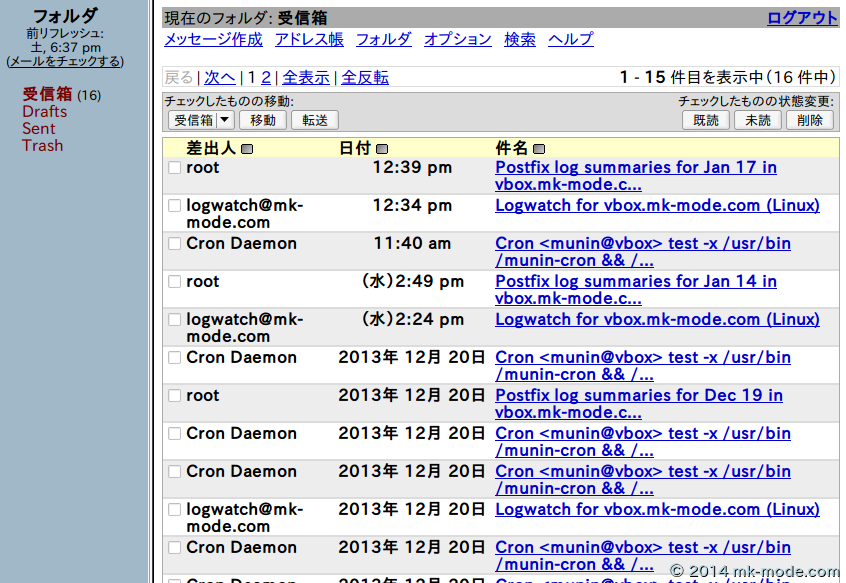
ブラウザで https:/<サーバ名>/webmail/ にアクセスし、ログイン画面が表示されるか、その他各種動作を確認する。
http を https にリライトするように設定している場合は http:/<サーバ名>/webmail/ でアクセスし https:/<サーバ名>/webmail/ にリライトされるかも確認する。


次回は、ログ監視ツール SWATCH の導入について紹介する予定です。
以上。

Comments